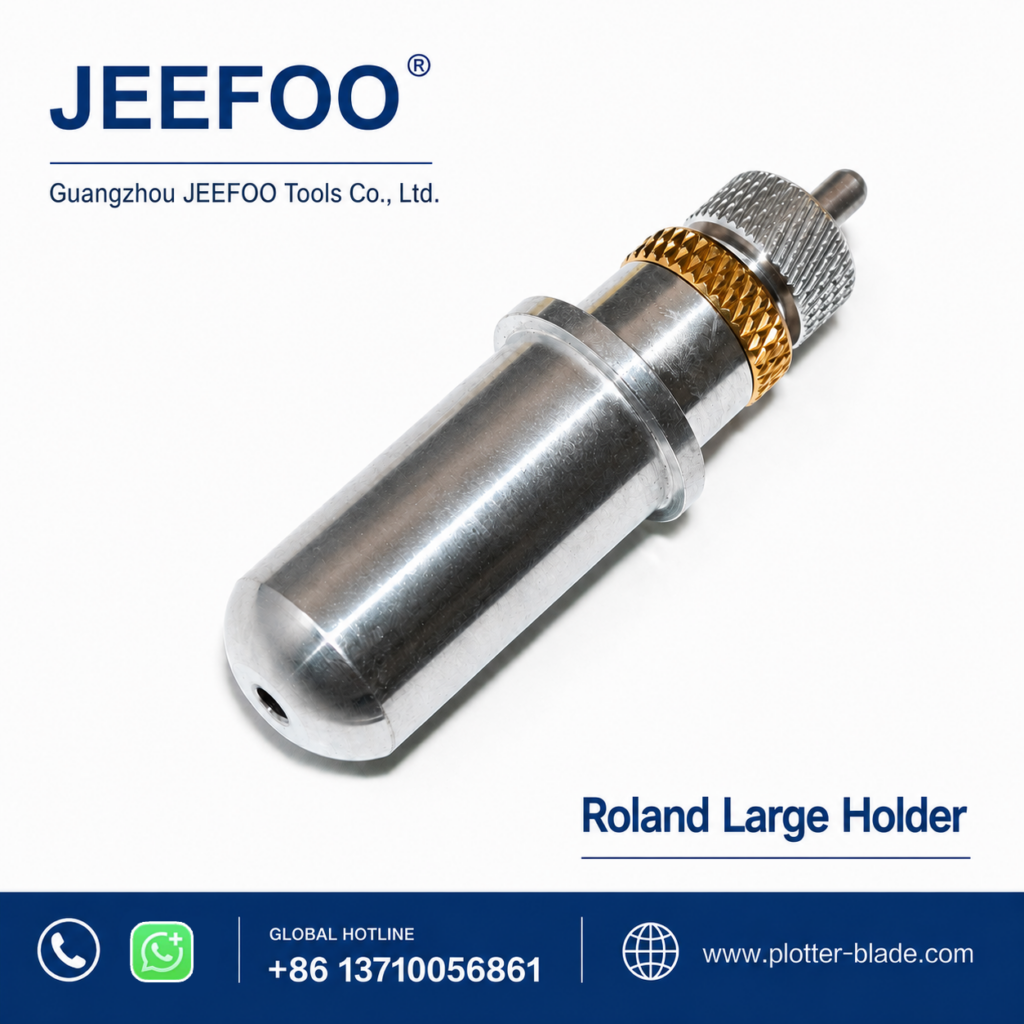
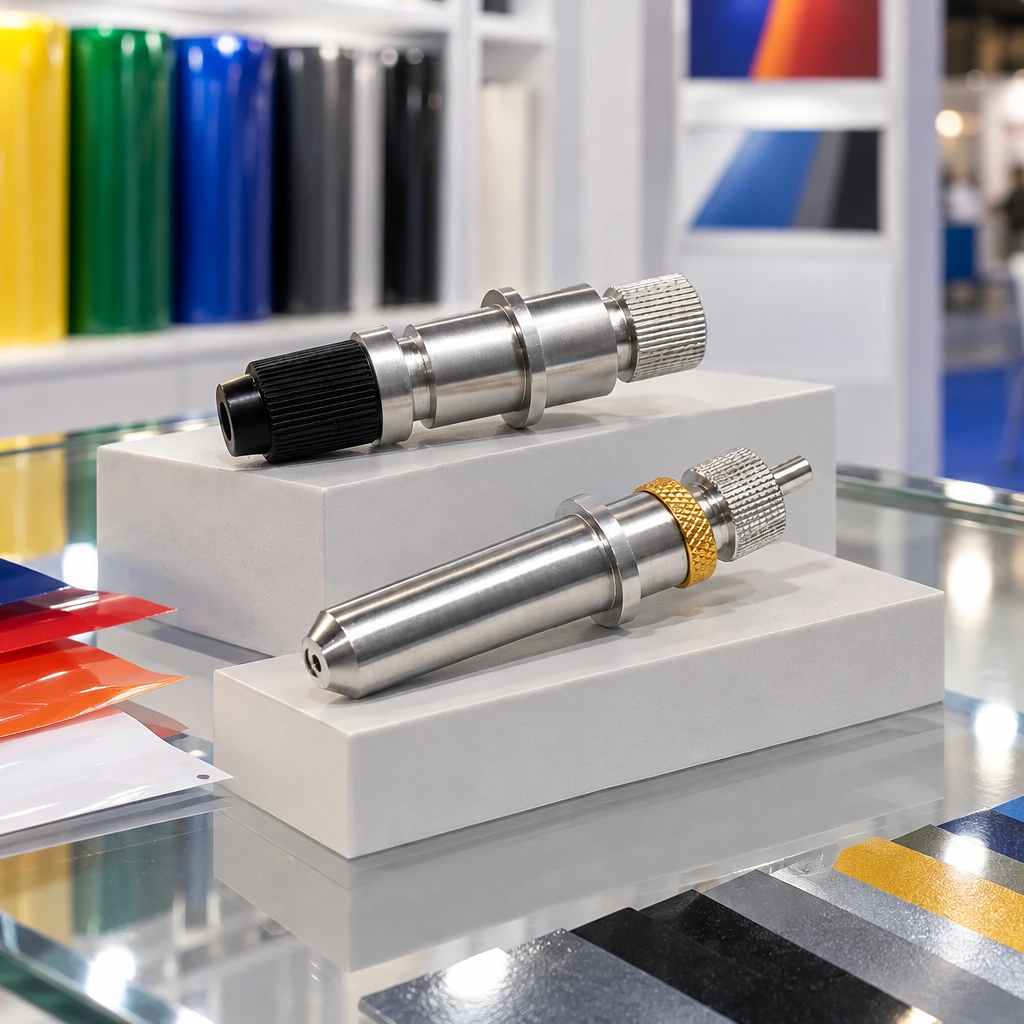
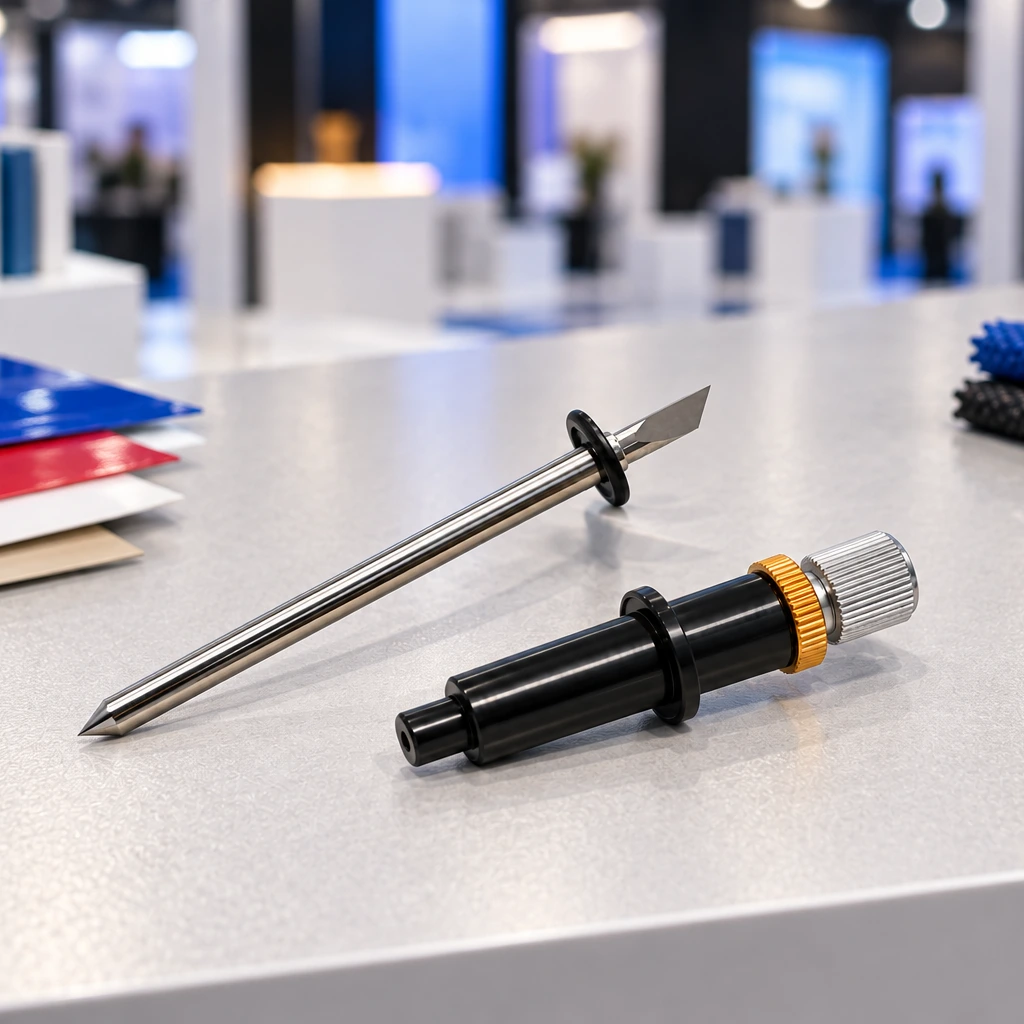
A plotter blade holder must match the cutter, blade and intended job before use. Confirm the assembly, follow its installation procedure, verify a representative cut and protect the components during cleaning and storage. This guide concerns film-cutting plotter holders. ER collets, spindle runout limits and powered-toolholder running procedures belong to different CNC systems and must not be applied as universal instructions for a plotter blade holder.
1. Identify the plotter blade holder before installation
Record the cutter model, installed holder reference and blade identification together. Check the physical component actually fitted rather than relying only on the machine’s original purchase description. If a holder has been changed, the assembly may require a different replacement reference. Keep packaging photographs and readable markings in the workshop record, and label any uncertain components separately until their identity has been resolved.
The JEEFOO plotter holder catalogue lists product families for enquiries. A familiar family name or a similar-looking housing does not establish fit with every machine. Ask for the exact offered reference and the matching blade requirements. If dimensions are needed, use the specified inspection method and suitable measuring equipment. Do not estimate them from an image or force a component into an opening to test an uncertain match.
2. Install the plotter blade holder using its own instructions
Stop the equipment and handle the blade assembly according to the applicable manual. Keep fingers away from the cutting edge and protect the tip when transferring the component. Inspect accessible areas for contamination, visible damage or signs of incorrect seating before installation. Use only the cleaning and assembly methods approved for that holder. A general article cannot determine which caps, springs or retaining parts a particular design uses.
For an example of a specific assembly procedure, consult Mimaki’s CG-AR SPA-0090 cutter-holder instructions. That reference applies to the named holder and is not a procedure for all brands. Use the correct manual for your own plotter blade holder, including its blade exposure and carriage-mounting requirements. Do not substitute a guessed tightening torque, add improvised packing or dismantle unfamiliar parts to make a doubtful component fit.
3. Verify the installed assembly with a representative cut
After the assembly has been installed correctly, use suitable scrap from the intended material to check the result. Include a closed contour and the small corners or lettering details relevant to the actual artwork. Inspect the intended separation, backing condition and waste removal. A holder that appears to fit is not yet an approved cutting setup, and an outline visible on the film does not by itself establish an acceptable finished graphic.
If the trial is unsatisfactory, record the symptom before changing conditions. Check whether the issue appears during cutting or later handling. Follow the permitted adjustment procedure and change one variable between comparable samples. Do not increase cutting force repeatedly to compensate for an unresolved holder or blade problem. Keep the accepted sample with the holder and blade references, material and settings so another operator can understand the approved combination.
4. Clean and store the plotter blade holder with traceable parts
Remove the assembly only as instructed and clean accessible contamination by the approved method. Avoid scraping the cutting edge or using a solvent, lubricant or compressed-air method without confirmation that it is suitable for the holder. Treat lubrication as a design-specific requirement rather than an automatic maintenance step. If a component is damaged, obstructed or uncertain after a collision, keep it out of accepted stock until assessed.
Protect the blade tip and store components so they cannot collide or become mixed with unrelated assemblies. Retain labels and packaging information where useful. Before a repeat job, check that the recorded plotter blade holder and blade remain the parts actually installed. Review the acceptance record when material, artwork or holder changes rather than assuming the previous trial covers every future use.
Plotter blade holder: common questions
Can I use ER-collet torque and runout values?
Only when the actual equipment documentation specifies that system. Values for rotating CNC holders are not universal requirements for film-cutting plotter holders.
Should every holder be oiled after cleaning?
No. Use only the maintenance method specified for the exact assembly. A lubricant appropriate for one design may be unsuitable for another.
How can I confirm a replacement holder?
Provide the cutter model, existing holder and blade references, photographs and intended material through the JEEFOO contact page. Request written confirmation of the candidate reference before ordering.