Vinyl cutter blades often attract the blame when small corners peel up, but the position and timing of the damage provide better clues than the appearance alone. A corner that lifts while the carriage is moving needs a different investigation from one pulled away during weeding. Pause production and preserve a marked sample before changing the setup.
1. Check when vinyl cutter blades first lift a corner
Watch a small representative cut from a safe position without reaching into the machine. Does the point rise as the blade changes direction, or does it remain flat until waste is removed? If lifting appears only during weeding, examine the removal direction, tiny connecting bridges and the design itself. If it begins during cutting, concentrate first on tool condition, material support and the permitted cutting settings.
2. Look for a repeated location or direction
Mark the feed direction on the sample and note whether damage repeats at particular corners. Inspect the artwork for duplicated paths, unintended crossings or details too fragile for the selected material and process. Compare a simple shape with the troublesome lettering. If both fail in the same area of the sheet, inspect loading and the accessible cutting surface according to the machine instructions before assuming the artwork is responsible.
3. Inspect vinyl cutter blades for mechanical drag
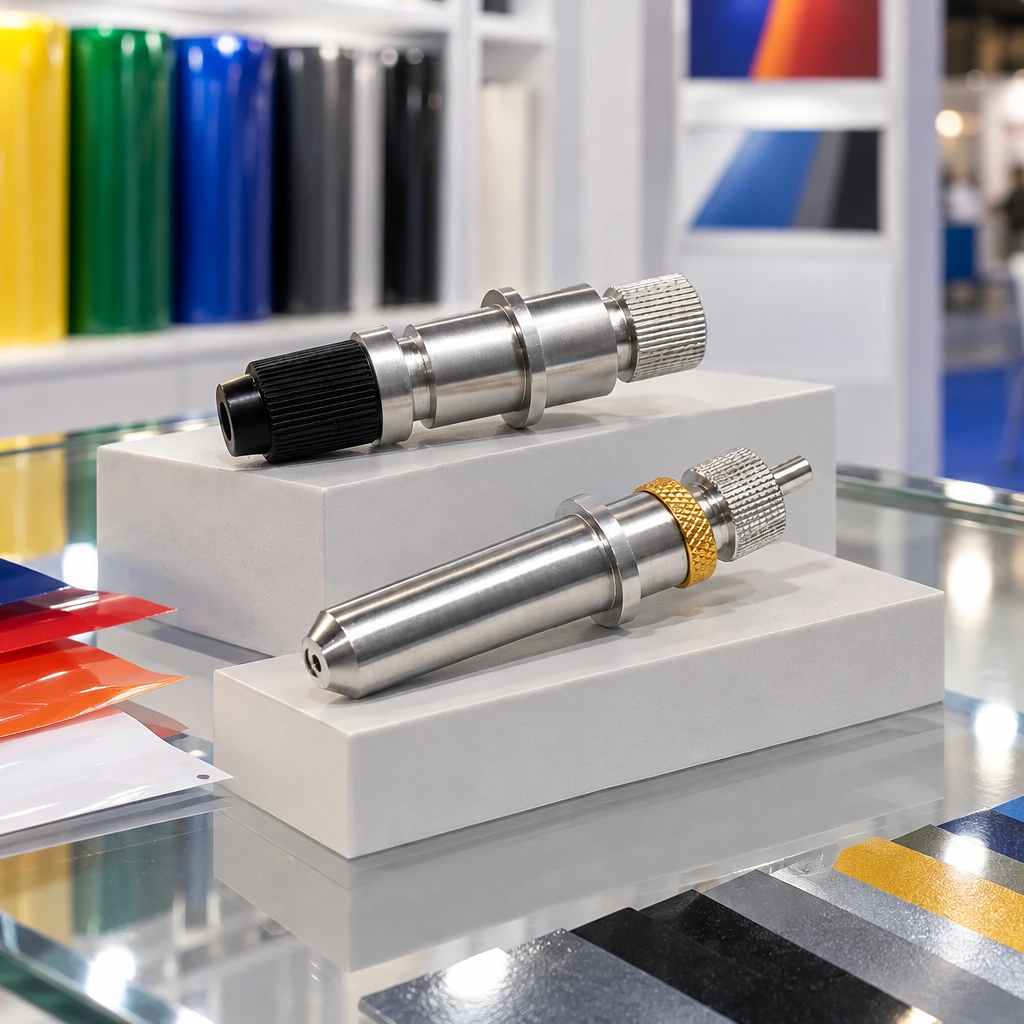
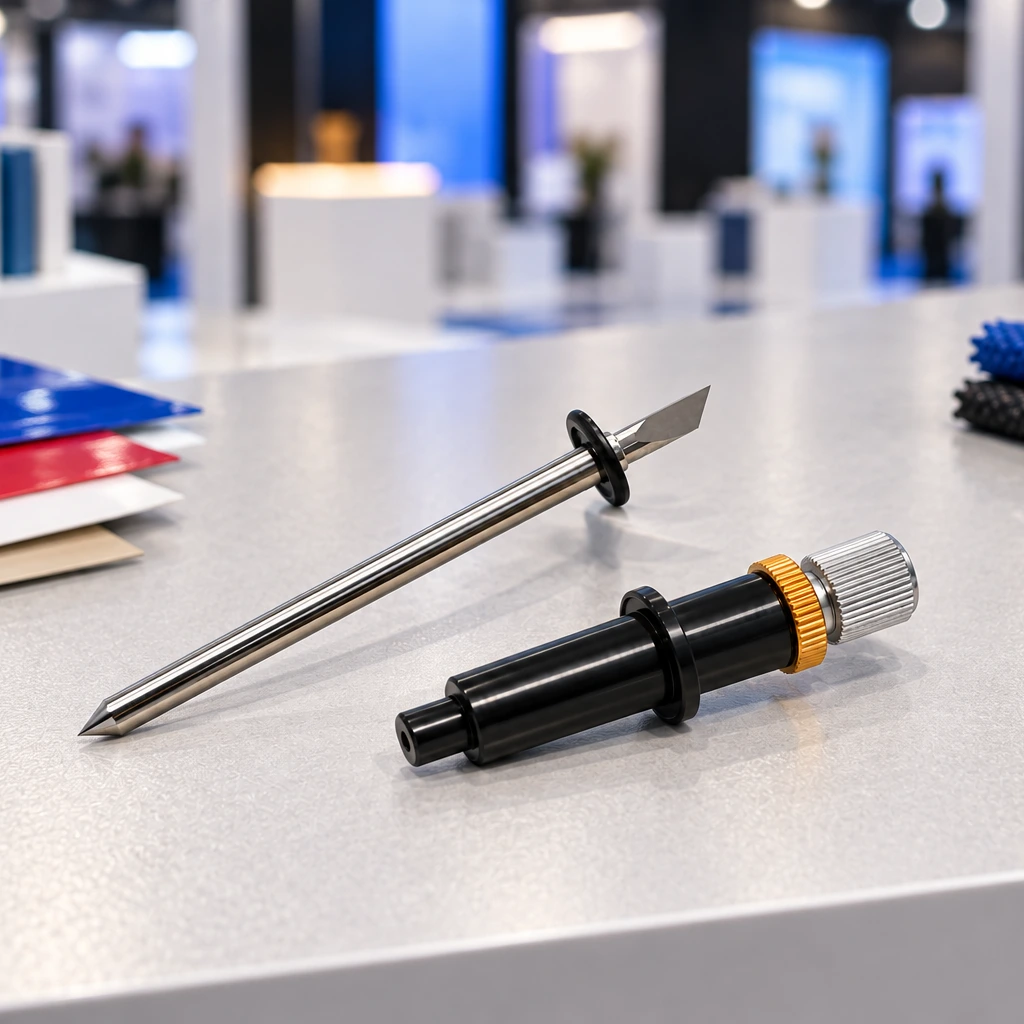
Stop the machine as instructed before inspecting the holder and blade. Look for adhesive residue, a visibly damaged tip or an incorrectly seated assembly. Confirm blade exposure using the specified adjustment procedure. Excessive exposure or restricted movement can be relevant causes, but neither should be diagnosed from a photograph alone. Do not increase force repeatedly to compensate for an unresolved mechanical issue; investigate what is preventing a clean change of direction.
4. Use a comparison that answers one question
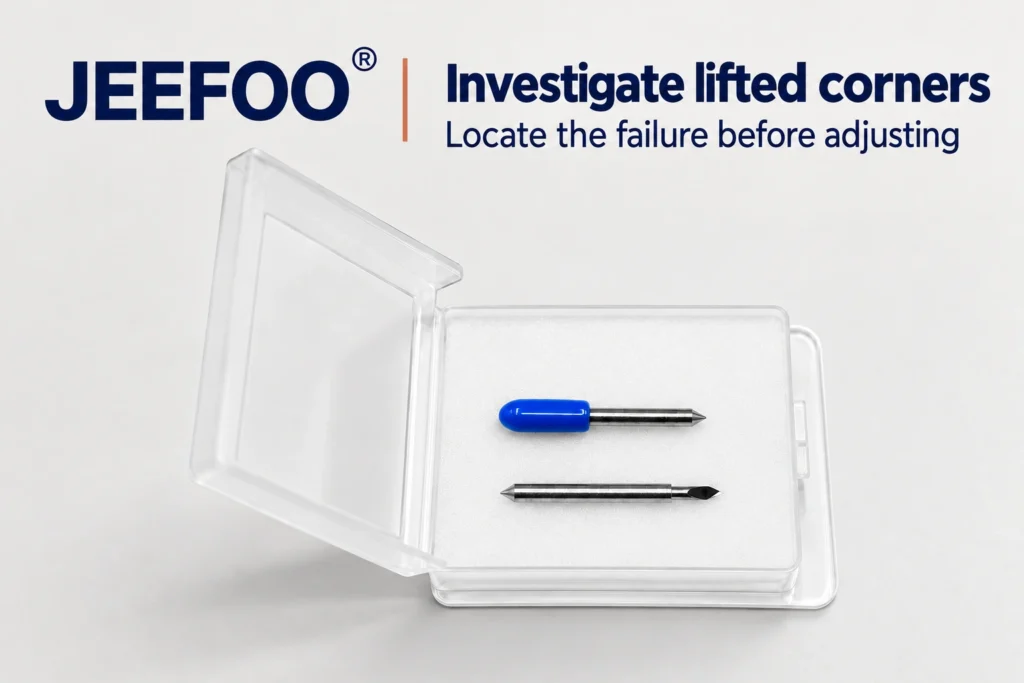
Once basic checks are complete, repeat the problem shape on the same material. Change one permitted setting at a time and inspect both the face film and liner. If an approved replacement is used for comparison, retain the previous blade separately so the results remain traceable. JEEFOO® lists a Roland blade family, but that catalogue category alone does not confirm suitability for the holder being investigated.
Corner lifting is a symptom, not a blade specification. Locating the moment of failure and comparing controlled samples gives the operator a clearer reason to adjust the process, revise the design or replace the tool.
Vinyl cutter blades: troubleshooting questions
Should I increase cutting force when corners lift?
First check the blade, holder, loading and the time at which the damage appears. Extra force is not a reliable remedy for restricted blade movement, excessive exposure or a fragile design detail. Use only adjustments permitted for the installed equipment, and change one variable between comparable samples. Inspect the backing as well as the face film so a visible improvement does not conceal unwanted liner damage.
What should I include in a corner-lifting test?
Use the actual film and backing, the troublesome shape at production size, and a simple comparison shape. Mark feed direction and the first point of failure. Keep samples from cutting and weeding separate in the record. Repeat the same design after each permitted change, recording blade reference, holder, material and settings. This makes a comparison meaningful even when the apparent defect is very small.
How do I confirm replacement vinyl cutter blades?
Check the exact blade and holder interface before ordering. The Roland blade catalogue can help identify an enquiry family, but the supplied reference still needs confirmation. The Roland DG cutting-conditions guide relates blade selection to material conditions for its specified equipment. Do not apply its values as universal settings for all vinyl cutter blades or assume that the angle label alone establishes fit.