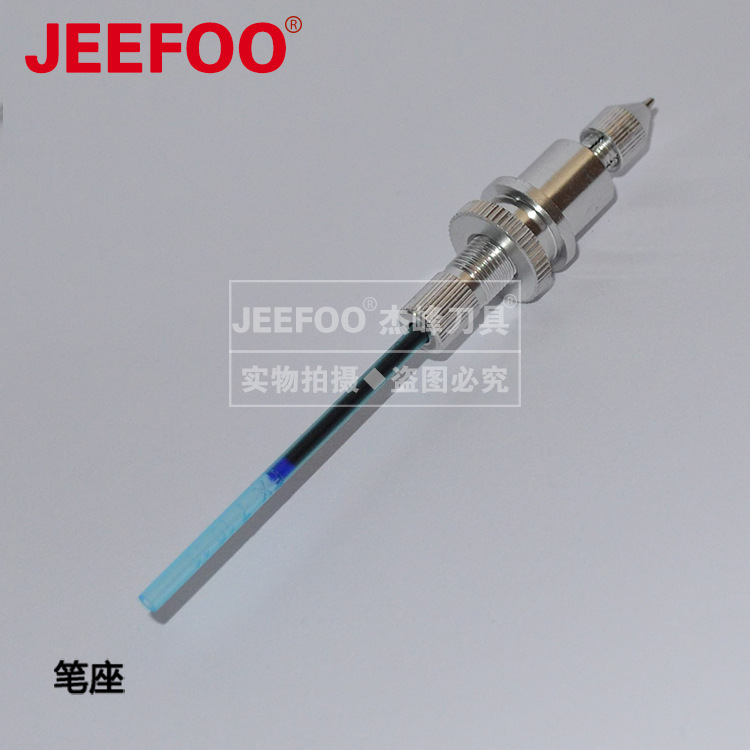
The engraving machine pen holder is a core accessory that ensures even and smooth drawing and engraving lines. Proper debugging and use can effectively avoid problems such as ink leakage, wire breakage, paper rubbing, and misalignment. During installation, it is necessary to smoothly insert the pen holder into the slot of the equipment trolley, align it with the positioning card, and tighten the fixing nut to ensure that the pen holder does not shake or shift, and to prevent loosening during operation. The optional pen tool needs to match the pen holder aperture, and is generally compatible with a pen holder of 8-14mm. It is strictly prohibited to clamp or rotate the pen body due to uneven thickness.
The key is to adjust the height of the pen tip. The pen tip does not need to extend too long, just fit the surface of the medium. Extending too long will scratch the paper surface and drag out excess ink marks, while extending too short will result in intermittent lines and shallow handwriting. When fixing the pen, simply tighten the screw lightly to clamp it. Excessive force can easily damage the pen holder and affect ink output. After debugging is completed, small sample engraving can be carried out to observe the uniformity of the lines, fine tune the Z-axis height and clamping force. Daily use requires keeping the pen holder slot clean and free of dust and debris. When not in use for a long time, removing the pen tool can extend the service life of the pen holder and ensure the accuracy of engraving.


.png)