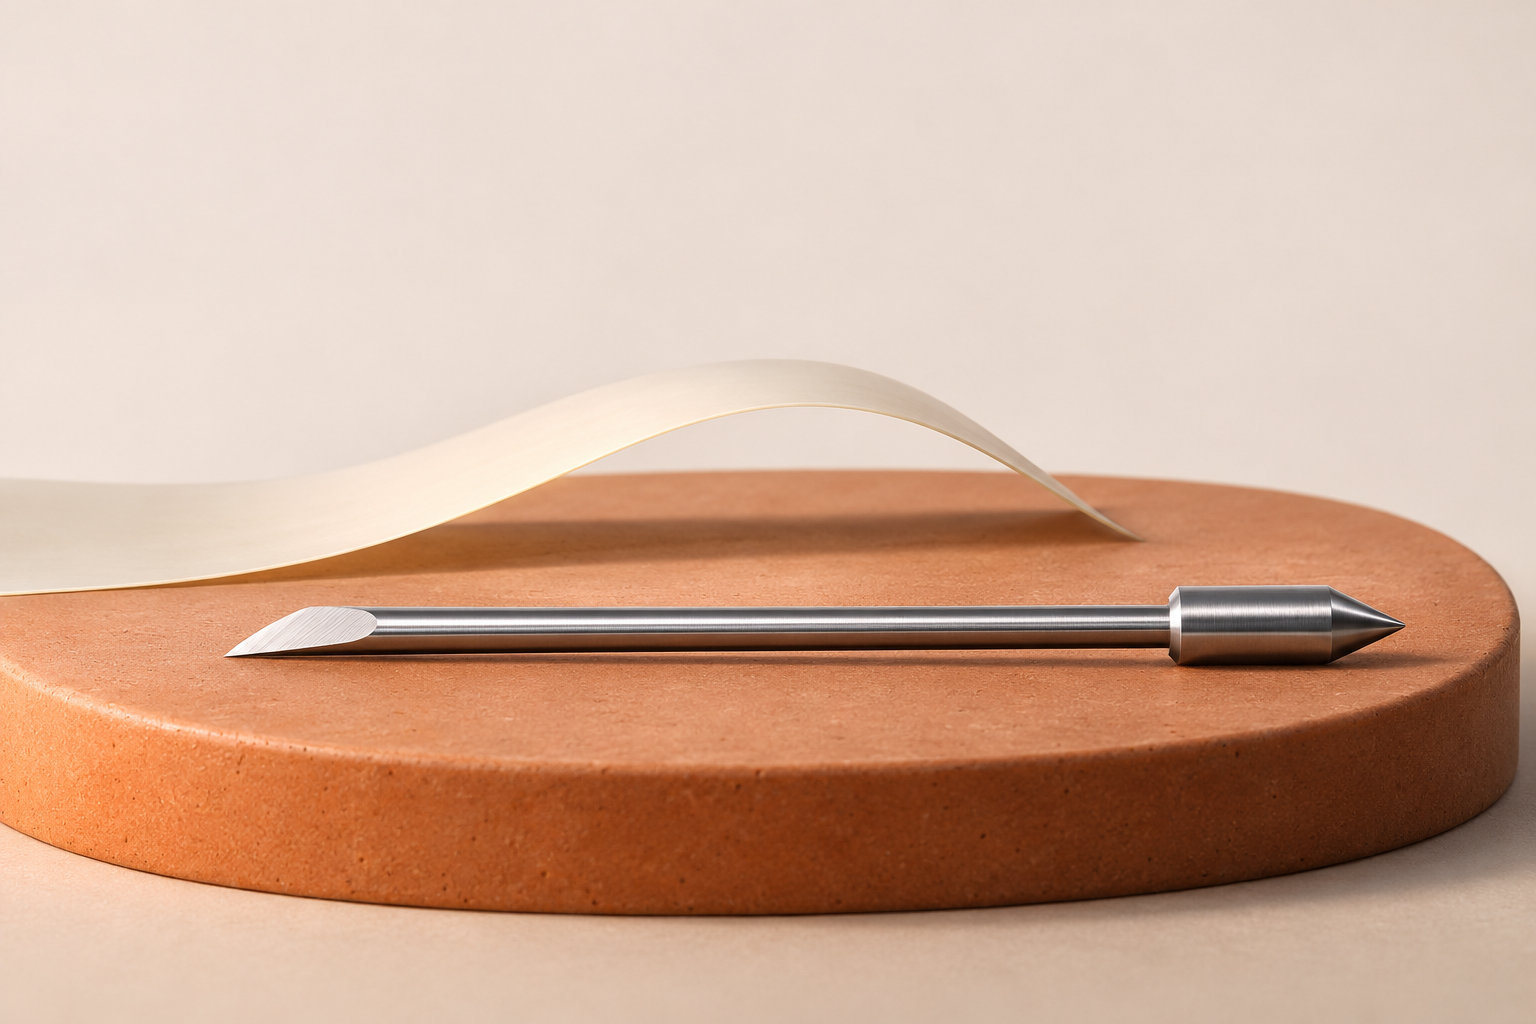
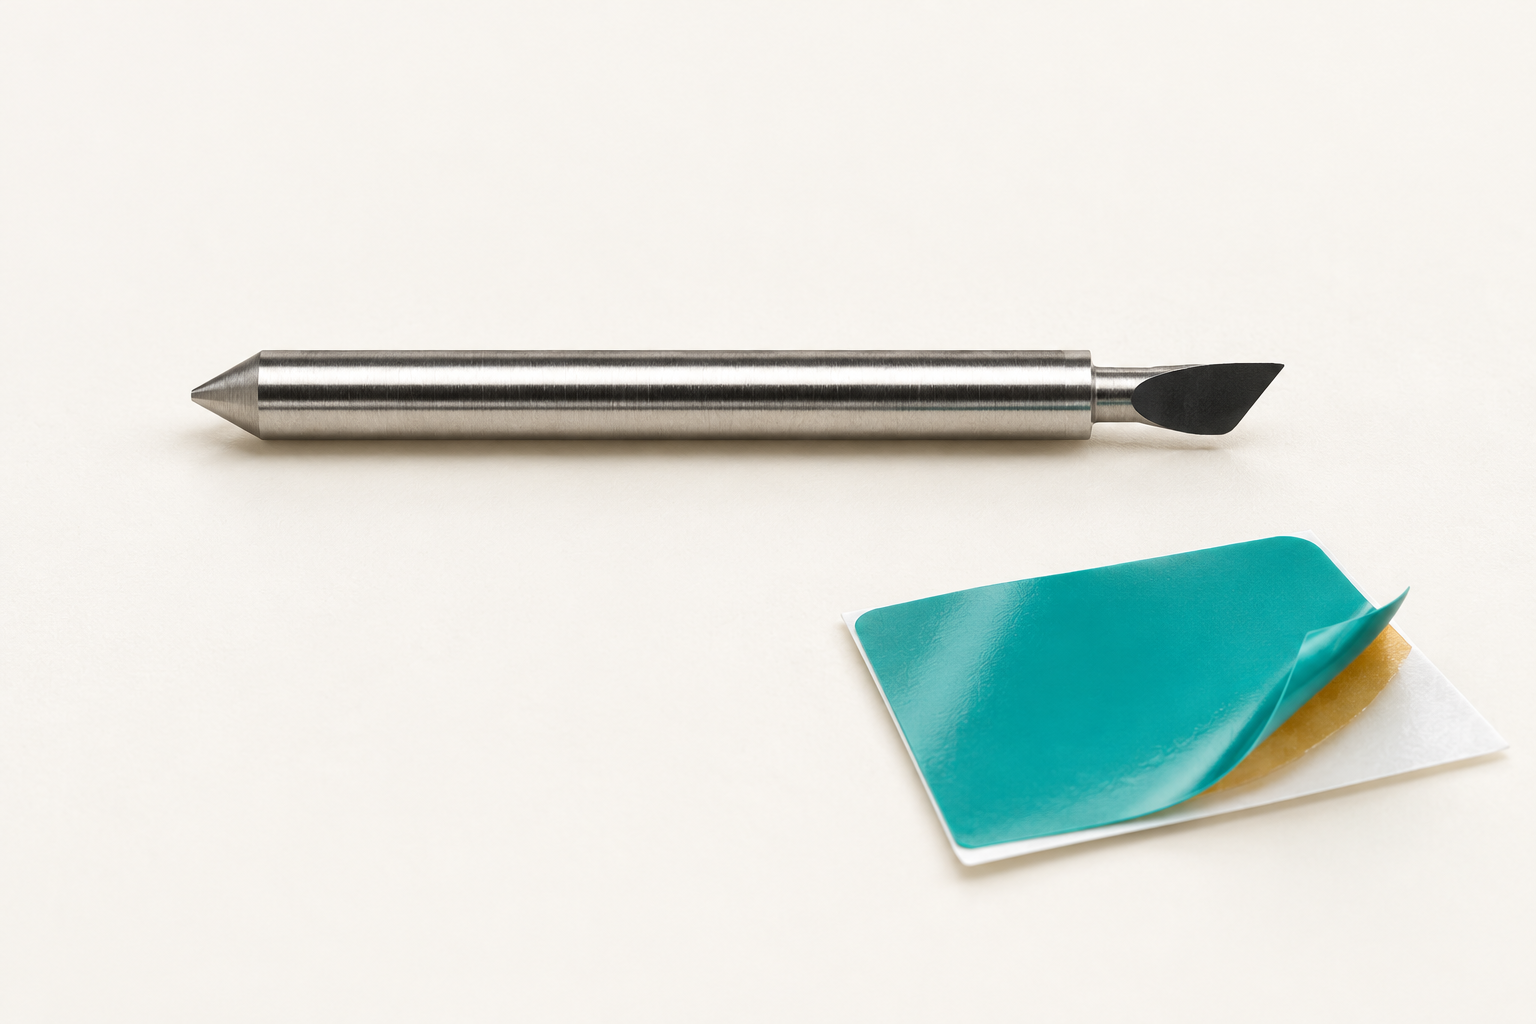
A Roland blade holder can change how far a compatible blade projects, but it cannot add a contour that is missing from the cutting file. For a two-colour Siser Glitter badge, separate the blade-setting question from the artwork question before increasing exposure.
Consider a silver star inside a blue disc. The intended result has both colours meeting the fabric. If the blue disc remains solid, the silver star would sit on glitter instead. Siser lists Glitter as layerable only as the top layer. A star-shaped opening in the blue artwork provides a different construction.
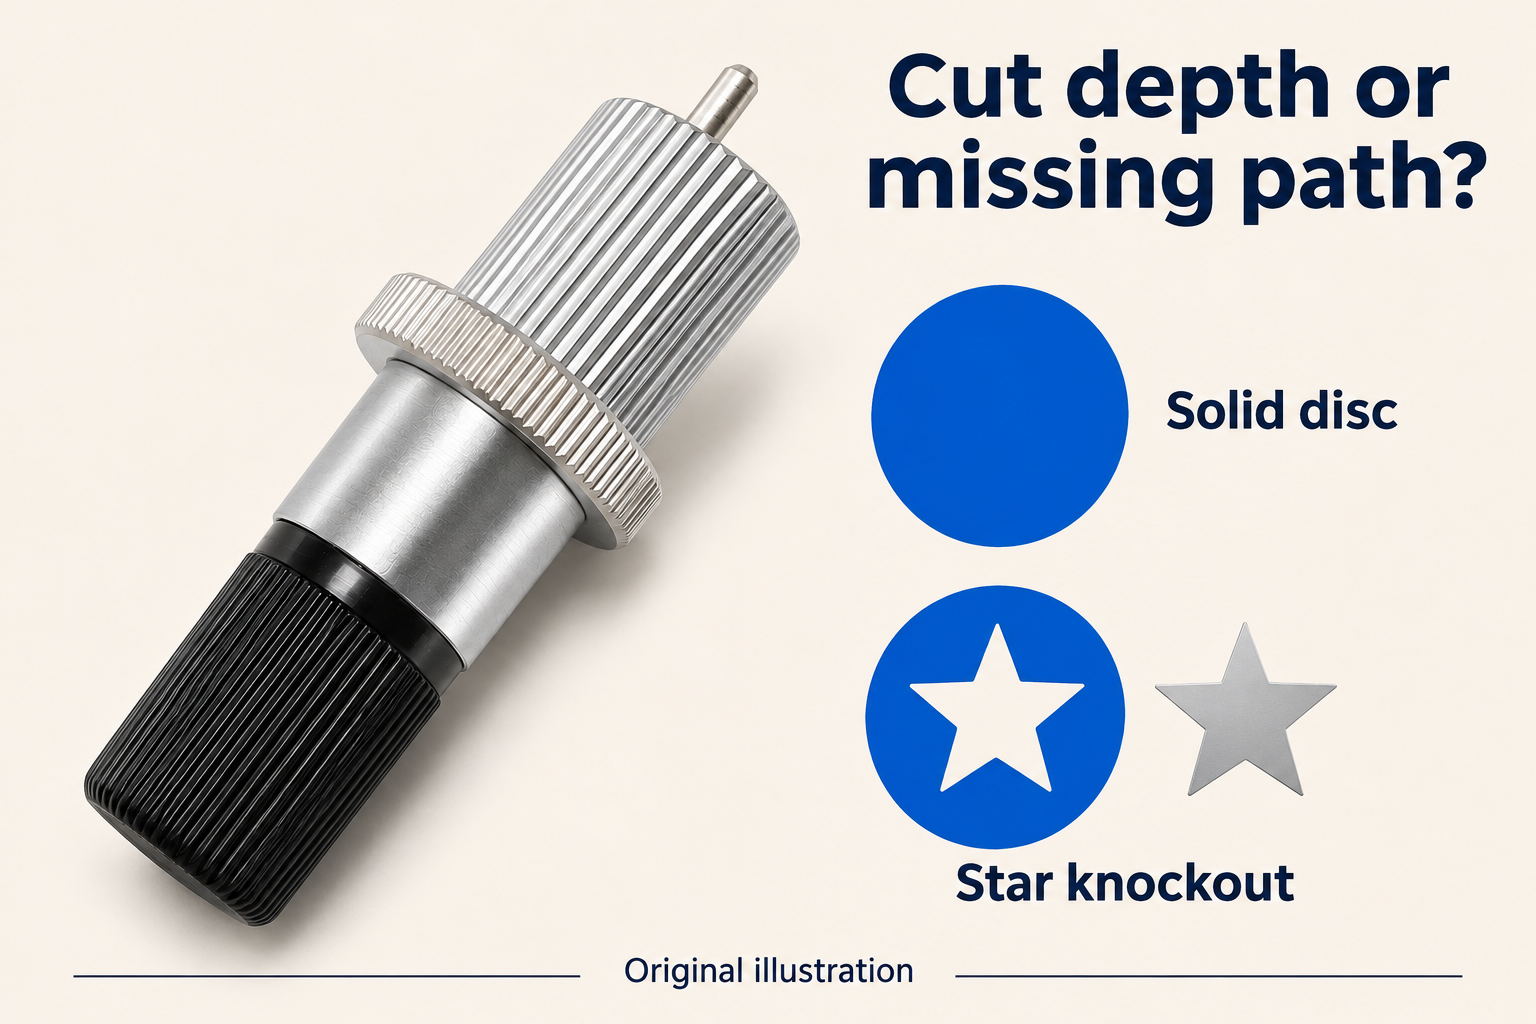
What the Roland blade holder adjusts
The JEEFOO Roland blade holder listed on this site secures a compatible blade and adjusts its tip projection. Confirm the holder, blade and machine combination before using it. A family name alone does not establish that every replacement fits every cutter.
Tip projection affects the physical cut along the paths sent to the machine. It does not create an absent star-shaped path. If the blue disc has no internal contour in the output, extending the blade would deepen the existing cut rather than turn the solid disc into a knockout.
Separate an incomplete cut from a missing contour
Before turning the depth ring, use an offcut of the same film to assess the existing setup under the machine manufacturer’s instructions. Use only a blade, holder and material combination approved for the equipment in use.
For example, the Roland GS2-24 test-cut procedure evaluates whether its circle peels away independently and whether removing the square reveals a faint blade trace on the carrier. The procedure provides adjustments for observed cut-quality problems. This is guidance for that model, not evidence that the replacement holder shown here fits it.
If part of a test shape remains attached, investigate the cut. If the physical test is satisfactory but the badge has no inner star contour, inspect the file. These observations point to different next actions and should not be combined into a single instruction to increase blade exposure.
Create the star knockout in the artwork
Work on a copy of the design. Move the silver star aside and inspect the blue disc. A solid disc has no opening to weed. Return the star to its intended position before making the knockout.
In Siser’s Leonardo Design Studio knockout method, selecting the aligned shapes and choosing Stamp (keep) removes the upper silhouette from the lower shape while retaining the upper shape. For the badge example, the result is a blue disc with a star-shaped opening and a separate silver star.
The software example explains the artwork operation. It does not establish a machine connection or approve an output workflow for a particular cutter. Verify that the resulting paths are present in the file actually sent to your equipment.
Compare the two cut shapes before application
Weed the centre from the blue proof. Trace its opening on paper, then align the silver proof with the drawing using registration marks common to both carriers. Trace the silver edge in a second colour. A silver point outside the opening would overlap the blue film; one that falls short would leave fabric visible.
This comparison is a way to inspect alignment, not a published tolerance or a claim about tested production results. Follow the current film manufacturer’s application instructions and check the particular garment and equipment combination.
Keep the adjustment tied to the problem
Use the compatible Roland blade holder to control the blade’s projection. Use the artwork tools to create the required contour. For this Glitter badge, confirming both is more useful than treating every missing detail as a cutting-depth problem.